


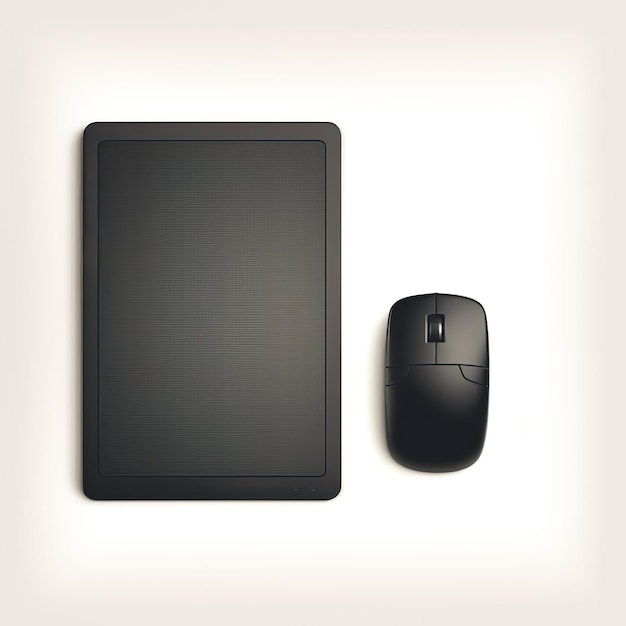
Ella Smith's blog : How to Make Custom Mouse Pads: A Step-by-Step Guide

Mouse pads are an essential accessory for any computer setup, providing a smooth surface for your mouse to glide on while protecting your desk. Creating custom mouse pads adds a personal touch to your workspace and allows you to express your creativity. With a few materials and some creative inspiration, crafting your own custom mouse pad is easier than you might think. Here’s a comprehensive step-by-step guide to help you create a unique and personalized mouse pad:
Gather Your Materials
Before you start making your custom mouse pad, gather the necessary materials:
- Rubber or Foam Base: Select a rubber or foam sheet as the base for your mouse pad. These materials offer durability and a smooth surface for your mouse to move on.
- Fabric: Choose a fabric that complements your style or matches your workspace. Consider using cotton, polyester, or microfiber fabric for its smooth texture.
- Fabric Glue: You'll need a strong adhesive to attach the fabric to the base. Fabric glue works best for this purpose.
- Scissors: A pair of sharp scissors will be essential for cutting the fabric to the desired size.
- Marker or Pen: Use a marker or pen to outline the shape and size of the mouse pad on the fabric.

Step-by-Step Instructions
Step 1: Measure and Cut
- Measure the Base: Take measurements of the rubber or foam sheet to determine the size of your mouse pad. Consider the dimensions that best fit your workspace and mouse usage.
- Cut the Fabric: Using the marker or pen, outline the measured dimensions on the fabric. Carefully cut along the lines to create a fabric piece that matches the size of the base.
Step 2: Apply Glue
- Prepare the Base: Lay the rubber or foam sheet on a flat surface. Ensure it's clean and free from any debris.
- Apply Glue: Use the fabric glue to apply an even layer on the surface of the rubber or foam sheet. Be cautious not to use an excessive amount that might seep through the fabric.
Step 3: Attach the Fabric
- Place the Fabric: Carefully lay the cut fabric piece onto the glued surface of the base. Smooth out any wrinkles or bubbles, ensuring the fabric is flat and adheres uniformly.
- Press and Secure: Press down firmly on the fabric to secure it to the base. Ensure proper adhesion by applying pressure across the entire surface.
Step 4: Let It Dry
Allow the mouse pad to dry completely as per the fabric glue instructions. This usually takes a few hours, but it’s best to leave it to dry overnight for optimal results.
Step 5: Trim Excess Fabric (Optional)
If there's any excess fabric hanging over the edges of the base, use the scissors to carefully trim it off, creating clean and neat edges.
Tips for Personalizing Your Mouse Pad
- Custom Designs: Get creative with your mouse pad design! Consider adding images, patterns, or your favorite quotes using fabric markers or iron-on transfers.
- Personal Photos: Print and attach personal photos onto the fabric to make your mouse pad truly unique.
- Double-Sided Mouse Pad: Create a reversible mouse pad by following the same steps on the opposite side of the base.
Final Thoughts
Designing and creating your custom mouse pad allows you to infuse your personality into your workspace while enjoying a personalized and functional accessory. Experiment with different fabrics, designs, and techniques to craft a mouse pad that reflects your style and creativity.
In:- Technology